Updated: December 01 2019
 |
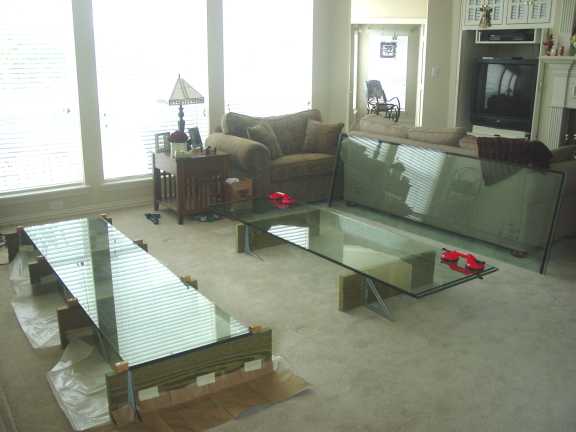
I built 6 stands made from treated lumber and shelve brackets to make supporting the heavy sheets of glass easier while I cleaned them. Slots cut into the lumber allow me to stand the glass on edge. A little steel wool and -- believe it or not -- kerosine make removing the silicone easier. ALL of the old silicone must be removed. |  |
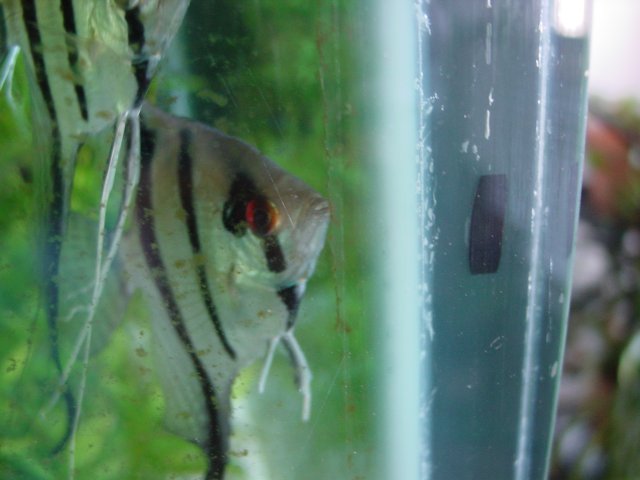 |
Here's a close-up of the aquarium edge. See the small black rectangle imbedded in the silicone? It's actually a thin rubber spacer and it's there to prevent all of the uncured silicone from being squeezed out while the clamps are holding the aquarium together. | |
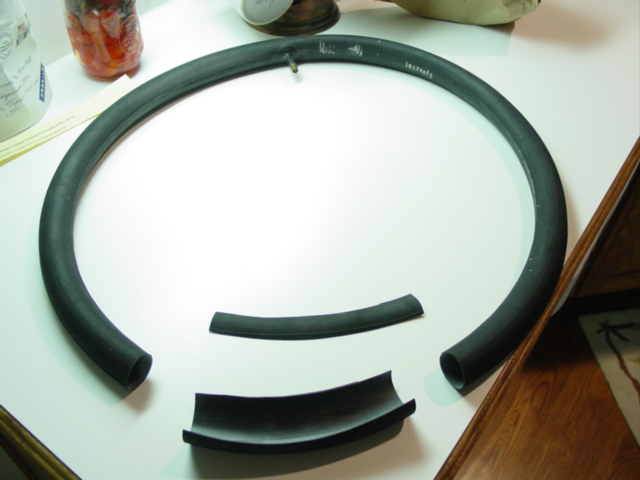 |
Here's how I made the spacers: A bicycle shop gave me a used inner tube from the trash. I cut a section out of the inner tube than made a slit down the side so the rubber would lay flat. | |
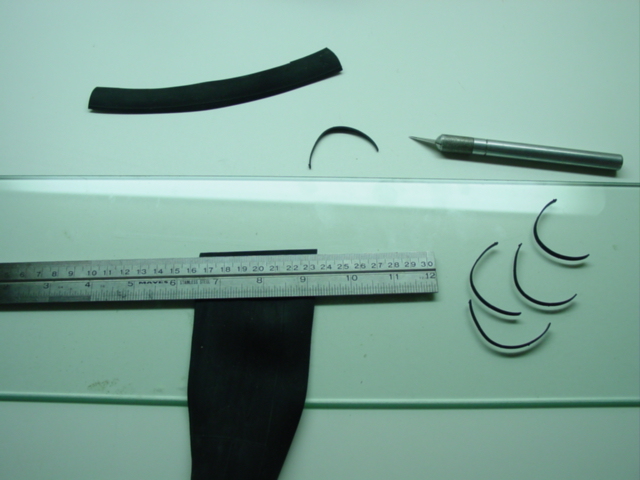 |
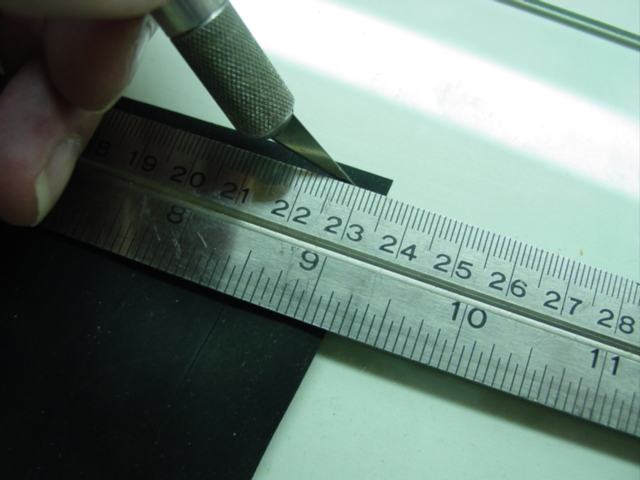
I used a machinists scale and X-Acto knife to cut the rubber into narrow strips. The work surface is a piece of glass. | |
 |
A made about 40 of these spacers. Each aquarium edge got 4 of them. | 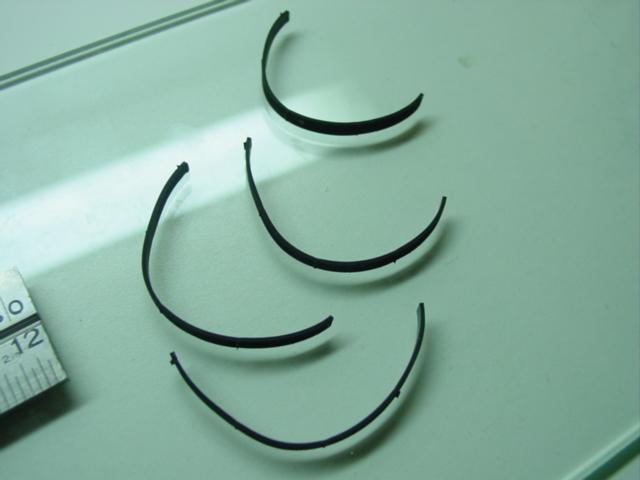 |
 |
Ready for assembly! The aquarium bottom is to the left in this image. The aquarium back has 2 suction handles attached. | |
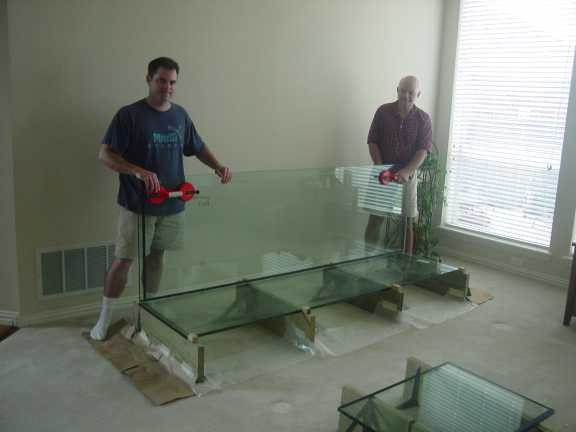 |
My neighbors gave me a hand with some of the assembly duties. | |
 |
I ran a bead of silicone along the edge of the glass then stood the glass into position. Plan was to assemble the back, left end, right end then the front... in that order. | |
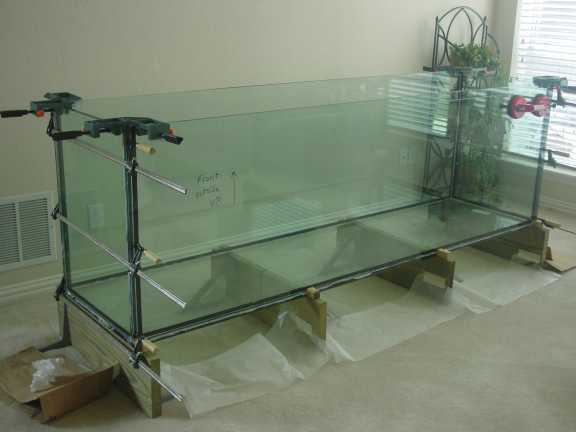 |
Aquarium with clamps in place. | |
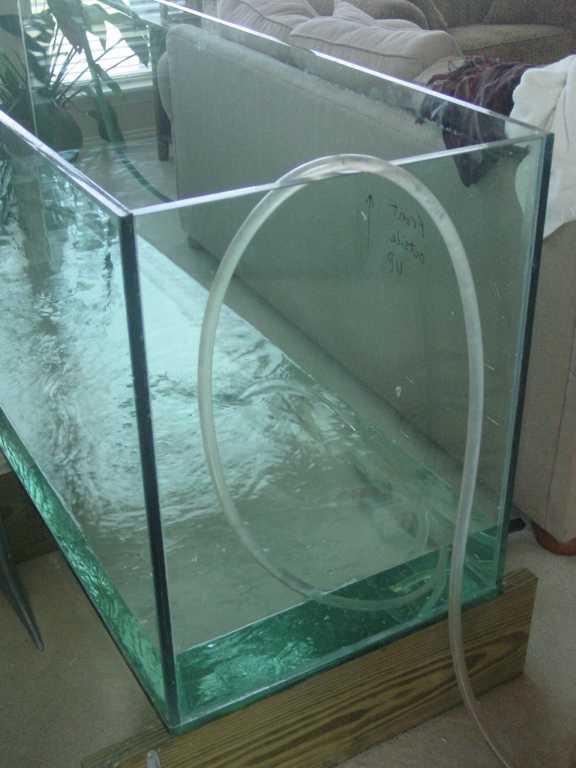 |
Water test in progress. I let the silicone cure for about a month before I attempted this. Notice I have not installed the bracing along the top of the aquarium yet. I wanted to be sure there were no leaks first. |